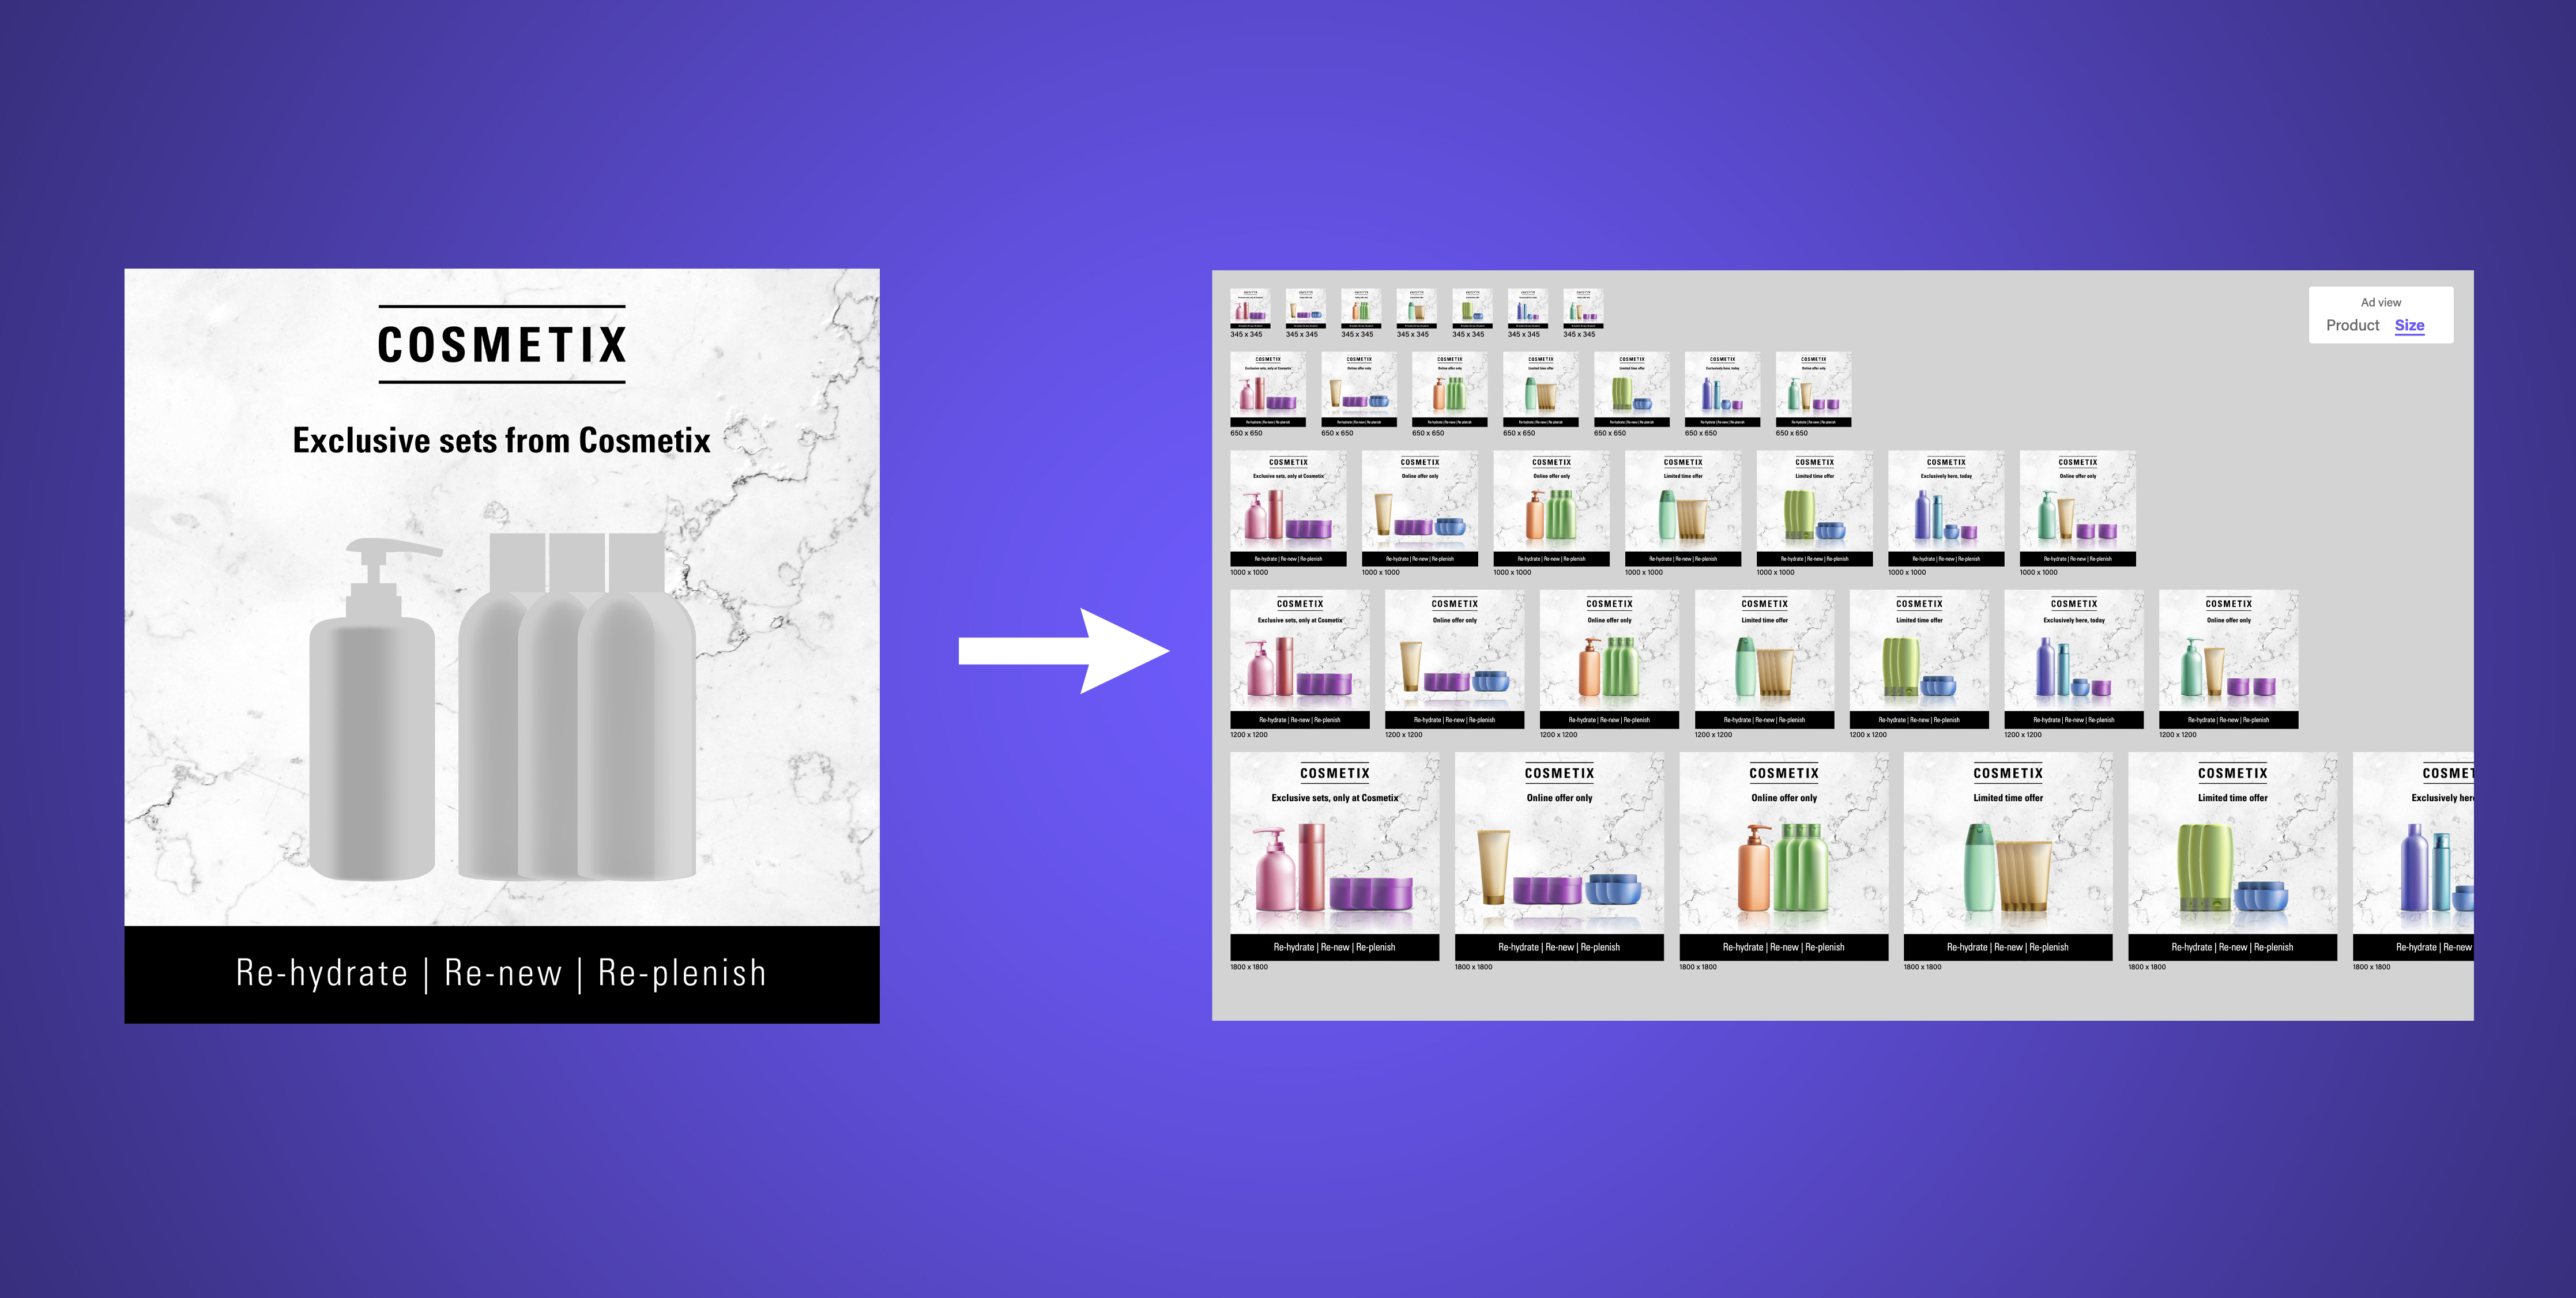
Goal: Create a thumbnail layout and populate it using a spreadsheet
Step 1: Set up thumbnail layout
Upload your simple-layered PSD file and map it to elements types. Once done, click 'Done mapping' to continue.
KEY CONCEPT: Element type will determine which column of the spreadsheet it will pull content from.
Set up the composition for all required sizes first.
-
In the composition tab, you'll notice only one size will be visible. (By default, the size closest to your original file will be activated first.)
-
Turn the switch on to 'Show all available sizes'
-
Enable all required sizes and adjust the composition.
Tip: Use 'Select similar elements' to edit the same element across different canvases.
Add styling and content after setting the composition
-
Add text styling to text elements
-
Add image styling to image elements and save
-
Lastly, download the spreadsheet template for this specific layout at the bottom of the screen
Step 2: Fill out the spreadsheet
When hovering an asset in the asset library, you'll notice an link icon. Click on the icon to copy the image link to this asset.
Remember, each column corresponds to an element in the layout, so when pasting links, make to paste in the correct column.
Step 3: Populate layout with spreadsheet
-
Under Brand layouts click to load the layout we just created
-
Once loaded, click Upload your CSV here button at the bottom of the screen to upload the CSV we just filled out
And at this point, we're mostly done! Make sure the image and text styling has been applied to all content we just populated and make adjustments as needed.
Proceed to Review & download, set a custom naming format and download.
As always, don't hesitate to get in touch with questions and feedback.
